How to generate a purchased SSL certificate for an unmanaged hosting account
This article describes how to generate a purchased SSL certificate for the following products:
- Unmanaged VPS
- Unmanaged Dedicated server
Because these products do not include cPanel, you must manually generate the certificate in the A2 Hosting Customer Portal.
Step 1: Generate a CSR and private key
Before you can generate an SSL certificate, you must create a CSR (Certificate Signing Request) and private key. For step-by-step instructions about how to do this, please see this article.
Step 2: Generate an SSL certificate
After you generate a CSR and private key, you are ready to generate the SSL certificate in the Customer Portal. To do this, follow these steps:
- Log in to the Customer Portal.If you do not know how to log in to the Customer Portal, please see this article.
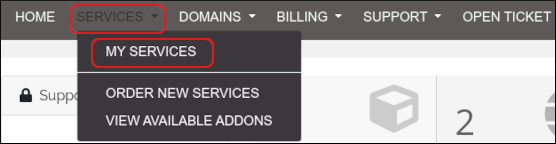
- On the SERVICES menu, click MY SERVICES:
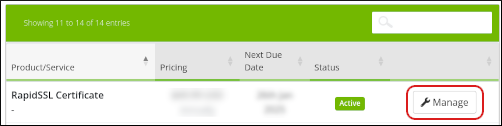
In the list of products and services, locate the SSL certificate, and then click Manage:
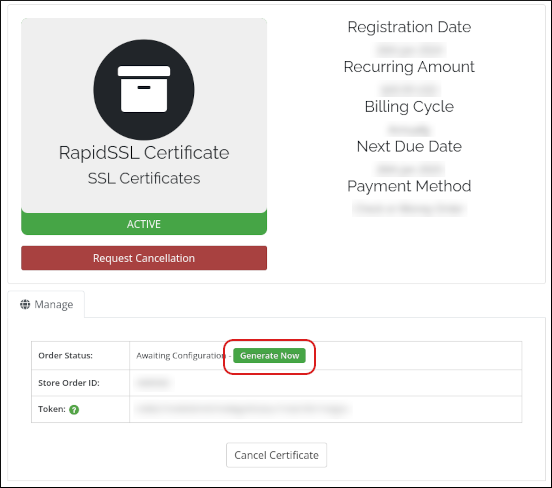
Click Generate Now:
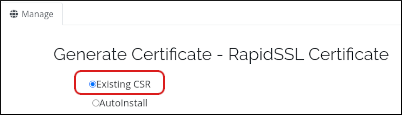
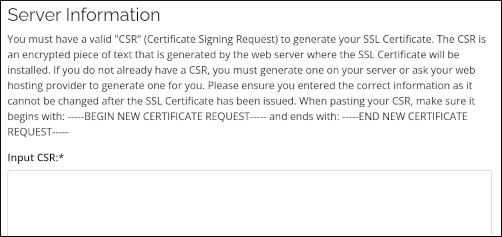
Under Generate Certificate, click Existing CSR:
In the Input CSR text box, paste the text from the entire CSR file, including the ——-BEGIN CERTIFICATE REQUEST——- and ——-END CERTIFICATE REQUEST——- headers:
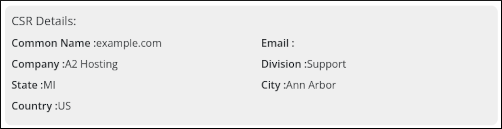
The CSR details appear automatically. Confirm that you have the correct domain:
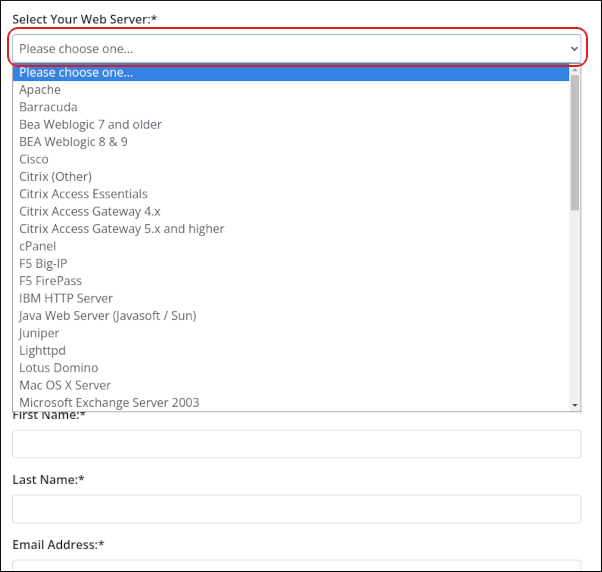
In the Select Your Web Server list box, select the web server you want to use. The most common web servers are Apache, Lighttpd, and nginx, but many more are supported:
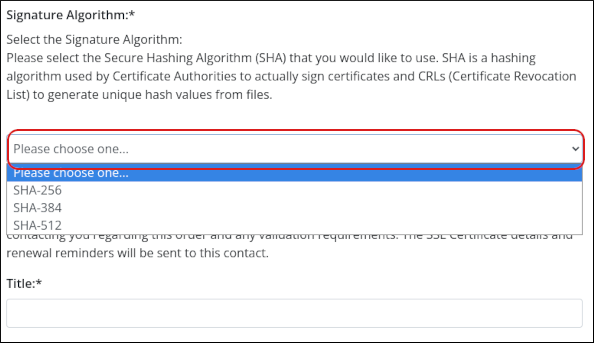
In the Signature Algorithm list box, select the signature algorithm you want to use:
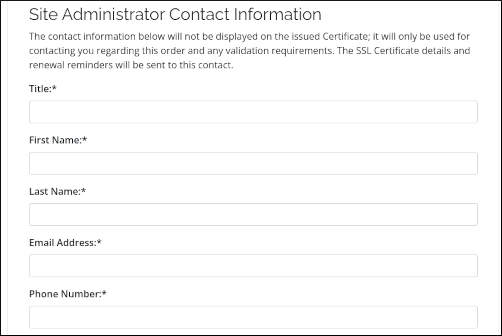
In the Site Administrator Contact Information section, complete the fields:
In the Technical Contact Information section, complete the fields or select the Same As Administrator Contact? check box:
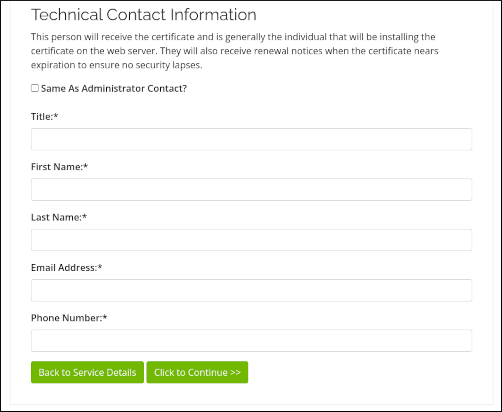
- Click Click to Continue.
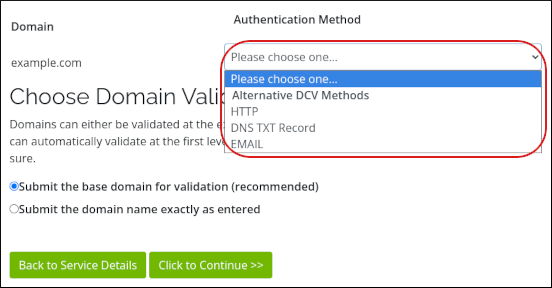
In the Authentication Method list box, select an authentication method. There are three options:
- File-based verification: With this option, the SSL vendor provides you with a text file to place on your web server. The SSL vendor then verifies the file to confirm domain ownership.
- DNS-based verification: With this option, the SSL vendor provides you with specific values to put in a CNAME record for the doman. The SSL vendor then verifies the CNAME record to confirm domain ownership.
- Email-based verification: With this option, you receive an email message at a pre-appoved address with additional instructions to follow to confirm domain ownership.
 SSL vendors require authentication to prove that you actually control the domain for which you are creating an SSL certificate.
In this procedure, we use the email verification method. There are five pre-approved addresses (replace example.com with your own domain name):
- admin@example.com
- administrator@example.com
- hostmaster@example.com
- postmaster@example.com
- webmaster@example.com
Under Choose Domain Validation Level, click Submit the domain name exactly as entered:
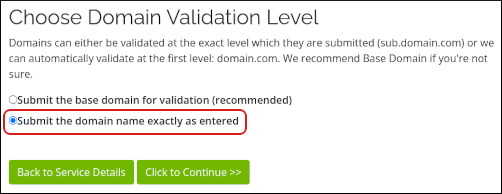
- Click Click to Continue. The Customer Portal sends the email authentication message.
- Check the inbox of one of the pre-approved addresses. Open the message and follow the instructions to complete the request.
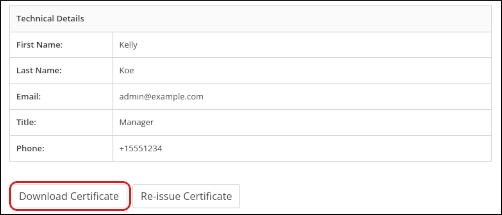
After the provider approves the request, your certificate is ready for download. From the Customer Portal main page, click SERVICES, click MY SERVICES, locate the certificate, and then click Manage:
Scroll to the bottom of the page, and then click Download Certificate:
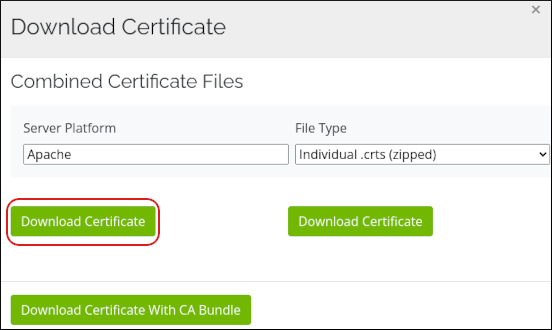
In the Download Certificate dialog box, select an option:
- Server Platform: In the Server Platform list box, select the web server you want to use, and then click Download Certificate:
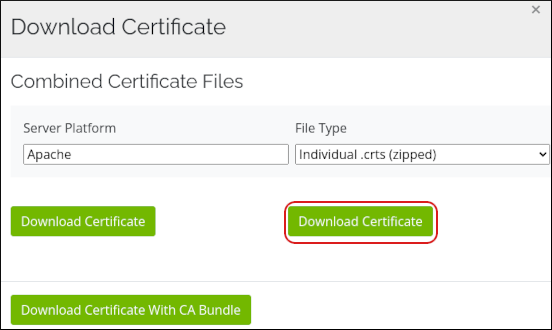
File Type: In the File Type list box, select the format you want for the certificates, and then click Download Certificate:
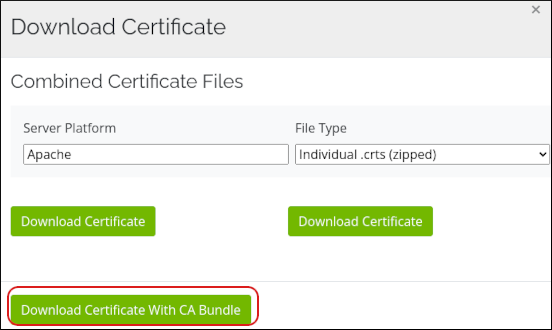
Certificate with CA Bundle: Click Download Certificate With CA Bundle. This is usually the option you want, as it includes the SSL certificate file for your domain, the CA (Certificate Authority) certificate bundle, and other useful files:
- Server Platform: In the Server Platform list box, select the web server you want to use, and then click Download Certificate:
- You are now ready to install the SSL certificate. For information about how to do this, consult the documentation for the web server that you are running on your hosting account.
Article Details
- Product: All unmanaged hosting accounts
Grow Your Web Business
Subscribe to receive weekly cutting edge tips, strategies, and news you need to grow your web business.
No charge. Unsubscribe anytime.
Did you find this article helpful? Then you'll love our support. Experience the A2 Hosting difference today and get a pre-secured, pre-optimized website. Check out our web hosting plans today.